
You won’t believe how easy it is to whip up a Strawberry Cheesecake Dump Cake. Recently, I tried this recipe after a long day, hoping for a quick dessert that didn't skimp on flavor. I was pleasantly surprised by how simple it was to create a delicious cake that tastes like a slice of summertime. The combination of creamy cheesecake and sweet strawberries is truly delightful.
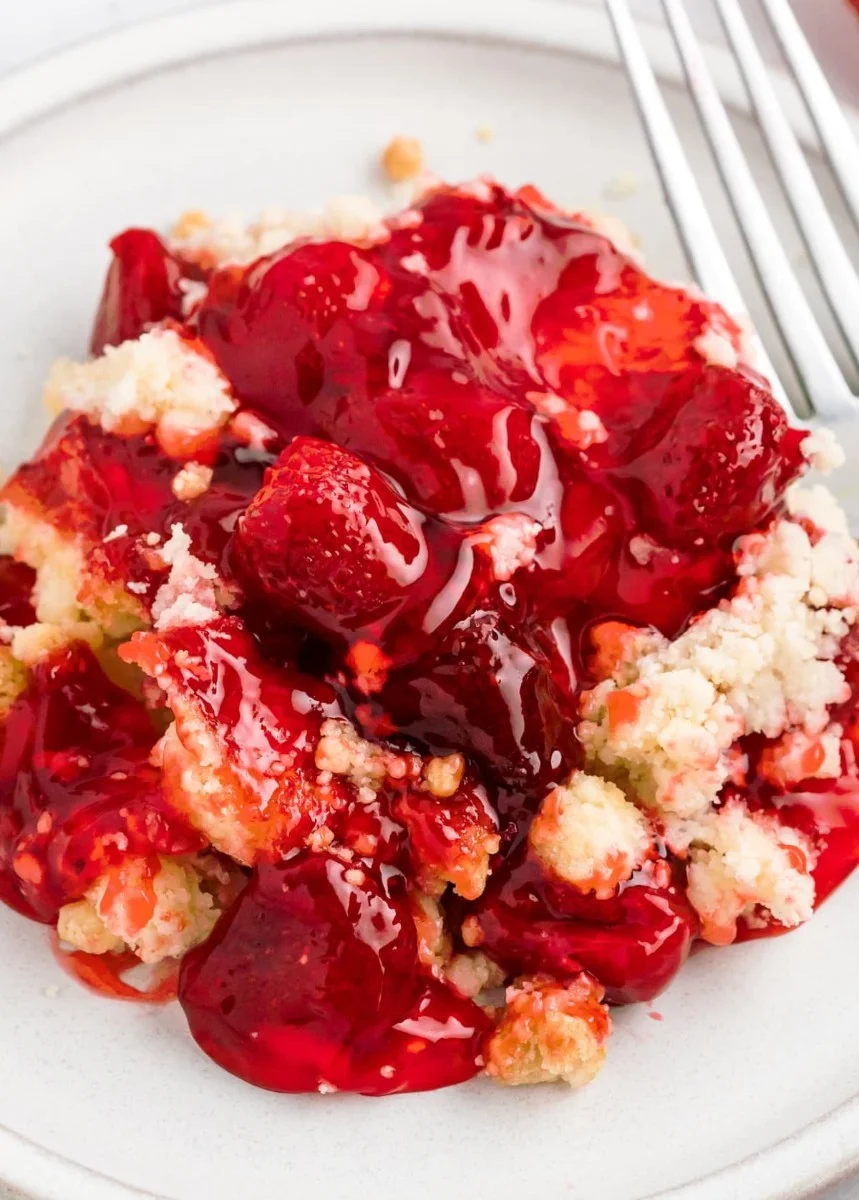
This recipe brings together the best of both worlds: a rich cheesecake layer paired with the light, fluffy cake topping. You can enjoy a home-baked dessert without spending hours in the kitchen. Whip it up for a family gathering, a potluck, or a cozy weekend treat. It’s sure to impress everyone at your table, and leftovers (if there are any) make for a perfect snack.
Jump to:
Why You’ll Love This Recipe
- Quick and Easy: This recipe requires minimal prep time and uses just a few simple ingredients, so you can enjoy dessert without a hassle.
- Rich Flavor: The combination of strawberry filling and cream cheese creates a wonderfully rich and satisfying taste in every bite.
- Perfect for Any Occasion: Whether it’s a holiday dinner or a casual family meal, this dump cake works well for any gathering.
- Great for Leftovers: This cake tastes even better the next day, making it an excellent choice for meal prep or make-ahead desserts.
- No Special Equipment Required: You won’t need fancy tools or complicated techniques, so anyone can make this cake easily.
Ingredients You'll Need
- Strawberry pie filling – 2 (15.75-ounce) cans. This provides the delicious fruity base for the cake.
- Cream cheese – 8 ounces, softened. It adds a rich, creamy texture to the cheesecake layer.
- Egg – 1 large, room temperature. This helps bind the cheesecake mixture and adds moisture.
- Granulated sugar – ¼ cup. This adds a touch of sweetness to the cream cheese mixture.
- Cake mix – 1 box (white, yellow, vanilla, or strawberry). This is the easy base for the cake layer.
- Butter – ½ cup, cold. Slicing it into pats allows for a perfectly crispy topping.
How to Make Strawberry Cheesecake Dump Cake
Step 1: Preheat the Oven
Preheat your oven to 350°F (175°C). This ensures an even bake for your cake and helps achieve the right texture.
Step 2: Mix Cream Cheese Mixture
Add cream cheese, egg, and granulated sugar to a medium mixing bowl. Beat until the mixture is smooth and creamy. This forms the rich cheesecake layer of the dump cake.
Step 3: Prepare Strawberry Base
Spread the strawberry pie filling across the bottom of a 9x13 baking dish. Make sure to cover the base evenly for the best flavor in every bite.
Step 4: Layer Cream Cheese Mixture
Drop spoonfuls of the cream cheese mixture over the strawberry filling. This will create a creamy layer that contrasts beautifully with the cake topping.
Step 5: Add Cake Mix
Sprinkle the cake mix evenly over the top of the cream cheese and strawberry layers. This will form the cake layer that becomes fluffy as it bakes.
Step 6: Add Butter Topping
Slice cold butter into thin pats and place them over the cake mix layer. This helps to create a golden crust that adds flavor and texture as it bakes.
Step 7: Bake the Cake
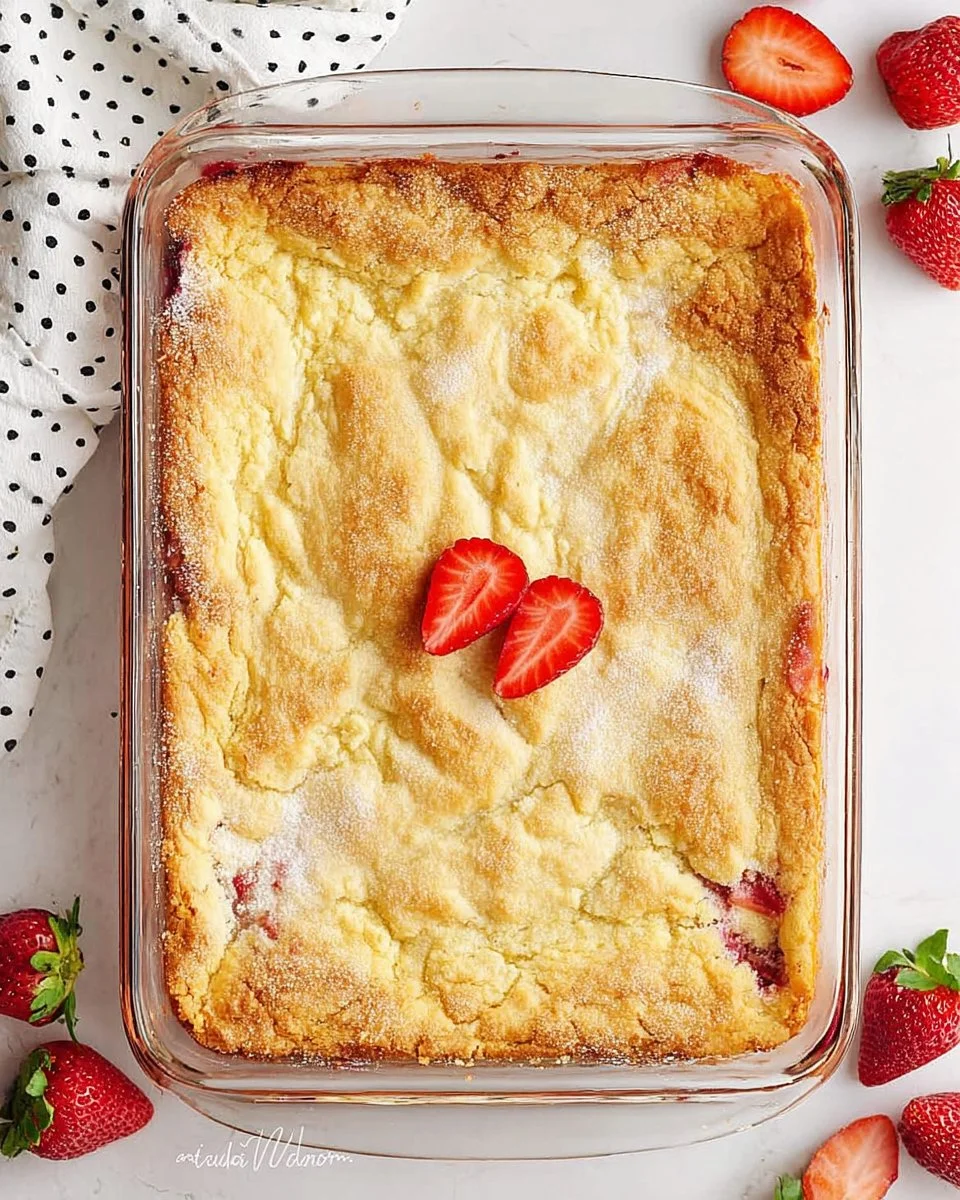
Bake for 40 minutes or until the topping is browned and the filling is bubbling. Keep an eye on it towards the end to avoid burning the edges.
Step 8: Cool and Serve
Allow the cake to rest for 15 minutes before serving. This helps the layers set and makes it easier to cut into slices.
Pro Tips from My Kitchen
✓ Soften the Cream Cheese – Make sure to allow your cream cheese to sit at room temperature before mixing. This results in a smoother mixture with no lumps.
✓ Layer Wisely – Spread the strawberry filling evenly and don’t skip dropping spoonfuls of the cream cheese mixture. This ensures a balanced bite of cake and filling.
✓ Check for Doneness – Look for a golden top and bubbling filling as signs that your cake is ready. If unsure, a toothpick inserted in the middle should come out clean.
✓ Cool Before Cutting – Let the cake sit for at least 15 minutes. This cooling period allows the layers to firm up and makes slicing easier.
✓ Experiment with Flavors – Try using different pie fillings like blueberry or cherry for a new twist. The same method works well with other fruits.
Frequently Asked Questions About Strawberry Cheesecake Dump Cake
Yes, you can swap out the strawberry pie filling for other flavors like blueberry, cherry, or even peach. Just make sure to use similar quantities for the best results.
Your cake will have a golden topping, and the filling will bubble. A toothpick inserted into the center should come out clean, indicating it is fully cooked.
Absolutely! You can prepare the cake a day in advance and store it covered in the refrigerator. Simply let it come to room temperature before serving or warm it slightly in the oven.
If the topping turns out too dry, it might be due to overbaking. Make sure to check the cake during the last few minutes of baking, as ovens can vary in temperature.
This Strawberry Cheesecake Dump Cake pairs wonderfully with whipped cream or a scoop of vanilla ice cream. Fresh strawberries on the side also add a nice touch.
Strawberry Cheesecake Dump Cake
Ingredients
- 8 ounces Cream cheese, softened
- 1 large Egg, room temperature
- ¼ cup Granulated sugar
- 2 cans (15.75-ounce) Strawberry pie filling
- 1 box Cake mix (white, yellow, vanilla, or strawberry)
- ½ cup Butter, cold
Instructions
- Preheat your oven to 350°F (175°C).
- In a medium mixing bowl, add cream cheese, egg, and granulated sugar. Beat until smooth and creamy.
- Spread the strawberry pie filling across the bottom of a 9x13 baking dish.
- Drop spoonfuls of the cream cheese mixture over the strawberry filling.
- Sprinkle the cake mix evenly over the top of the cream cheese and strawberry layers.
- Slice cold butter into thin pats and place them over the cake mix layer.
- Bake for 40 minutes, or until the topping is browned and the filling is bubbling.
- Allow the cake to rest for 15 minutes before serving.
Notes
- For best results, soften the cream cheese, layer wisely, and check for doneness using a toothpick.
- Leftovers taste even better the next day.
Leave a Reply